Change DPI Scaling Level for Displays in Windows 10
Make sure to create a restore point just in case something goes wrong.
Change DPI Scaling Level for Displays in Windows 10 Method 1: Change DPI Scaling Level for Displays Using Settings App Method 2: Change Custom DPI Scaling Level for All Displays in Settings Method 3: Change Custom DPI Scaling Level for All Displays in Registry Editor
Method 1: Change DPI Scaling Level for Displays Using Settings App
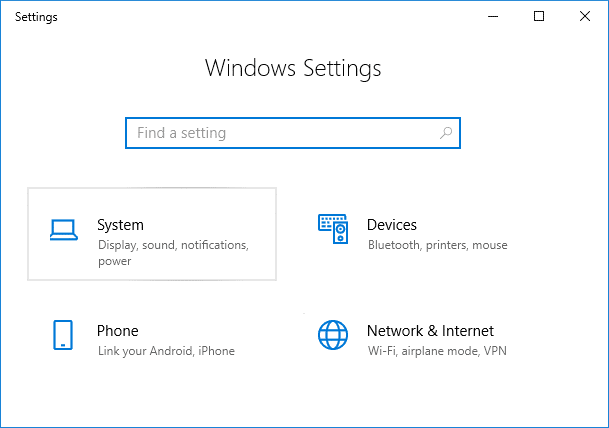
Press Windows Key + I to open Settings and then click on System.
From the left-hand menu, make sure to select Display.
If you have more than one display, then select your display at the top.
Now under Change the size of text, apps, and other items, select the DPI percentage from the drop-down.
Click on the Sign out now link to save changes.
Method 2: Change Custom DPI Scaling Level for All Displays in Settings
Press Windows Key + I to open Settings and then click on System.
From the left-hand menu, make sure to select Display.
Now under Scale and layout click Custom scaling.
Enter a custom scaling size between 100% – 500% for all the displays and click on Apply.
Click on Sign out now to save changes.
Method 3: Change Custom DPI Scaling Level for All Displays in Registry Editor
Press Windows Key + R then type regedit and hit Enter.
Navigate to the following Registry key: HKEY_CURRENT_USER\Control Panel\Desktop
Make sure you have highlighted Desktop in the left window pane and then in the right window pane double click on LogPixels DWORD.
Note: If the above DWORD doesn’t exist, you need to create one, right-click on Desktop and select New > DWORD (32-bit) value. Name this newly created DWORD as LogPixels. 4. Select Decimal under Base then change its value to any of the following data and then click OK:
- Again make sure Desktop is highlighted and in the right window pane double click on Win8DpiScaling.
Note: If the above DWORD doesn’t exist, you need to create one, right-click on Desktop and select New > DWORD (32-bit) value. Name this DWORD as Win8DpiScaling. 6. Now change its value to 0 if you have chosen 96 from the above table for LogPixels DWORD but if you have chosen any other value from the table then set its value to 1.
- Click OK and close Registry Editor.
- Reboot your PC to save changes. Recommended:
Fix High CPU Usage By TiWorker.exe Windows failed to start. A recent hardware or software change might be the cause Fix High CPU Usage by svchost.exe (netsvcs) Fix High CPU Usage by RuntimeBroker.exe
That’s it you have successfully learned How To Change DPI Scaling Level for Displays in Windows 10 but if you still have any questions regarding this post then feel free to ask them in the comment’s section.


![]()


